Showing posts with label Foodie Friday. Show all posts

Friday, June 28, 2013

Foodie Friday: Rhubarb Ginger Almond Scones


If nothing else, this time of under-employment has allowed me to do things I really love: 
garden, sew, walk, read, and bake. I was especially happy to bake these scones. I developed a recipe after comparing a lot of different scone recipes. These seem old-fashioned and delightful, perfect for brunch with friends or as heart-felt handmade gift. 

Weasinart's Rhubarb Ginger Almond Scones:
Ingredients:
  • 3 stalks rhubarb (14-16 ounces)
  • 2 1/2 cups flour
  • 1 tsp baking powder
  • 1/2 tsp salt
  • 8 TBSP unsalted butter
  • 1/2 cup sugar
  • 1/2 tsp vanilla extract
  • 3/4 cup plain Greek yogurt
  • 1 TBSP crystallized ginger
  • 1/4 cup almonds
Directions:
Preheat oven to 425 F. Line baking sheet with parchment or silicon mat. Because I made my scones into wedges, I needed to use two sheets.


 Cut the rhubarb into small pieces. 
They will break down a little in the scone, but keep things bite-sized!


Toss the rhubarb with 3 tablespoons of sugar and the ginger.
 Dice the ginger fine, if necessary.


Chop the almonds and fold into the rhubarb mixture.


Sift flour, 1/4 cup sugar, baking powder, and salt together in a large bowl.


Cut butter into flour mixture until the butter is about the size of small gravel.


Add in the rhubarb mixture, vanilla, and yogurt. Stir together until a soft dough forms.


 Flour your hands and knead the dough for a minute or so, 
until the dough comes together and is not sticky.
Turn out the dough onto a floured surface and pat the dough into a disc. 
Using a bench scraper (or a knife), cut the dough into 8 wedges.
Arrange on sheets and sprinkle with remaining sugar and some of the crystallized ginger.
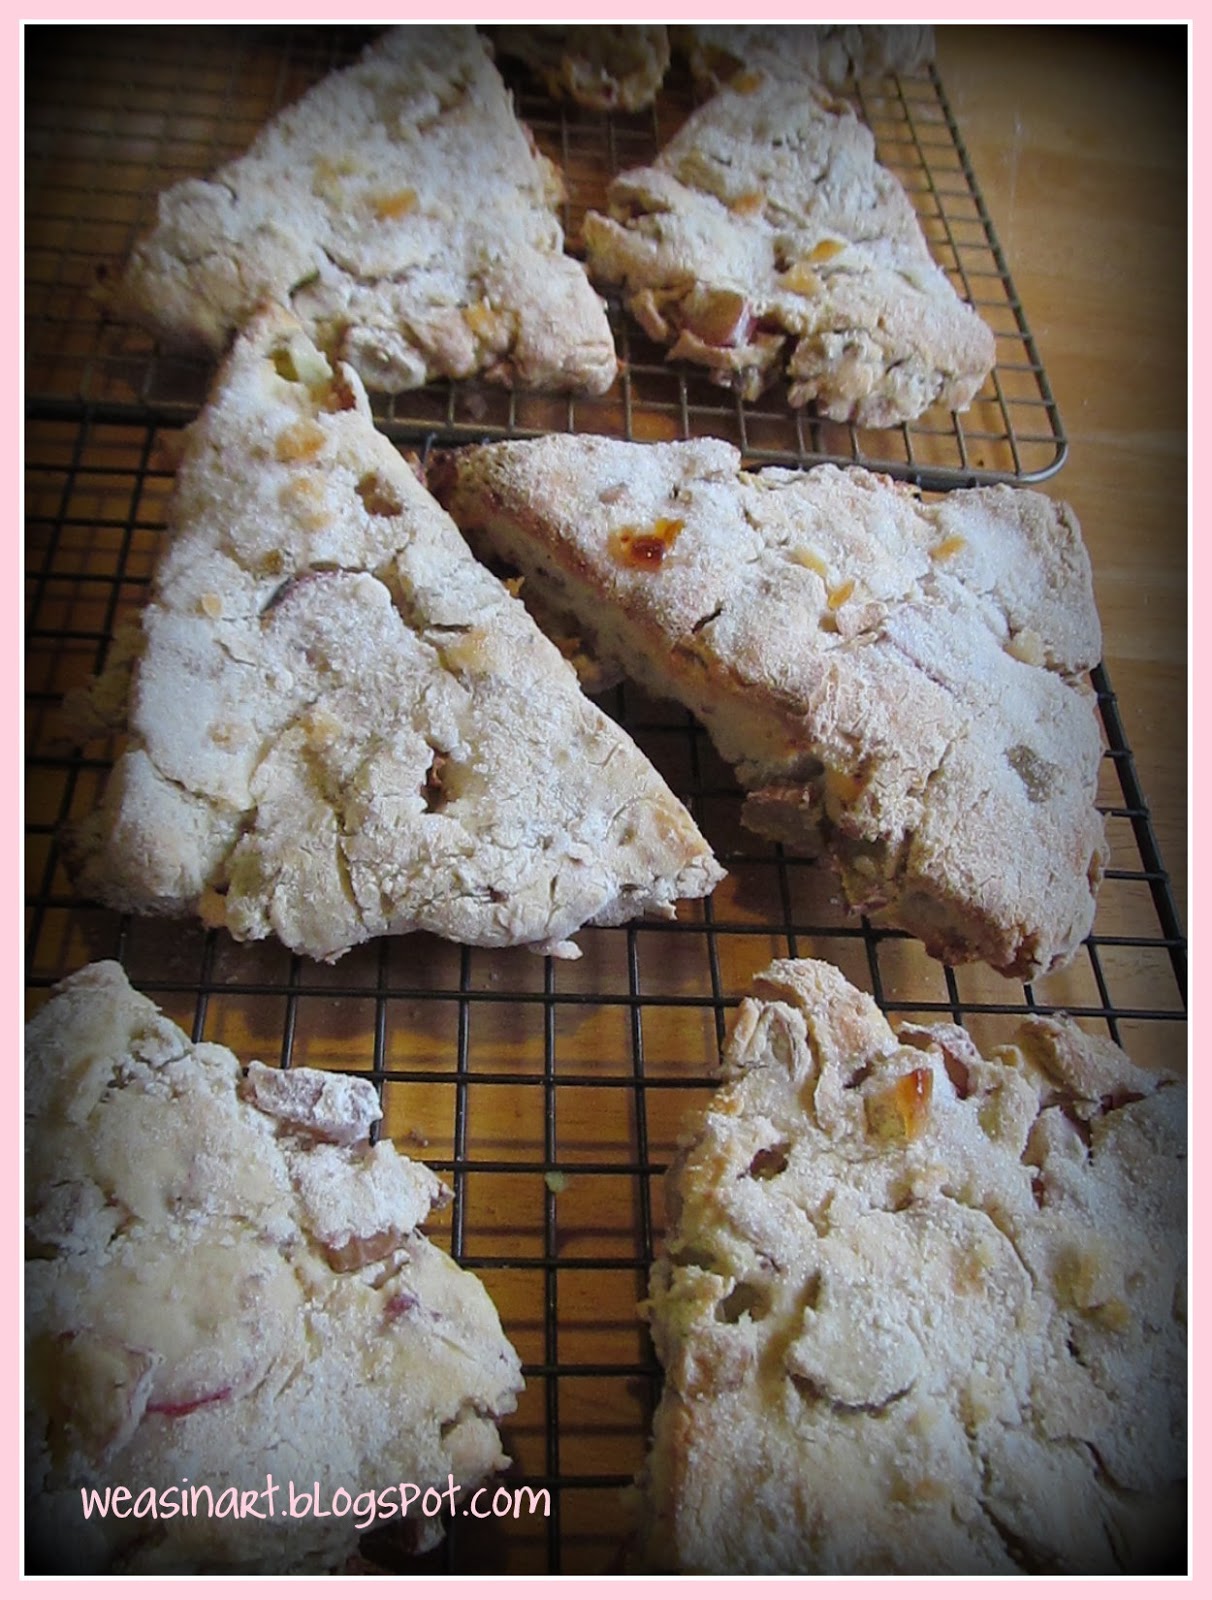

Bake for 18-20 minutes or until golden brown.
Serve warm and/or seal in an airtight container.

Enjoy! 

This post is dedicated to my all time favorite blogger, chef, and friend, 

Friday, November 2, 2012

Foodie Friday: Pumpkin French Toast


Fall is a wonderful time to gather with friends and share your blessings. Brunch is one of my favorite ways to get together--it feels fancy without all the stress of a dinner party.  This seasonal french toast is easy to prepare but easily impresses all. It is a great party items or perhaps as a holiday breakfast.


Friday, October 12, 2012

Foodie Friday: Crock Pot Apple Butter


This time of the year in the Northeast means falling leaves, crisp air, and visits to the apple orchard. Apple butter is on of the best treats of the fall season, yet I never thought about making it at home. That is until Pinterest and my seeming obsession with recipes. Win!


Ingredients:


Makes a little more than 1 pint
  • 1 dozen apples, peeled, cored, cubed
  • 1/2 Cup Water
  • 1/4 Cup Brown Sugar
  • 1/2 teaspoon Cinnamon
  • 1/2 teaspoon All Spice


Method:

Peel, Core, and Chop a dozen apples.
Toss the apples in the sugar and spices.
Put everything in the Crock Pot.
Set on low and get on with your day.
To thicken, turn the heat up to high and prop the lid open for a bit.
To smooth, put the apple mixture into the blender and pulse til smooth.


I love it on biscuits, scones, and mixed into my morning oatmeal with some walnuts. YUM!

Friday, October 5, 2012

Foodie Friday: Tea Cakes


Tea is part of my daily life, but sometimes, I want to make it a little more special. I may break out some leaves and brew it the old-fashioned way, sometimes what makes it extra-special is the treat that I have along with it. While my British friends tell me that these are not traditional but they sure are tasty!


Ingredients:
  • 3 1/3 c. sifted flour
  • 3 tsp. baking powder
  • 1/2 tsp. salt
  • 2/3 c. shortening
  • 2 c. sugar
  • 4 eggs, well beaten
  • 1 1/3 c. milk
  • 2 tsp. vanilla
  • 1 tsp. cinnamon
  • 1/4 tsp. cloves
  • 1/4 tsp. nutmeg


 Method:

  • Sift flour, baking powder and salt together.
  • Sift 1 teaspoon cinnamon, 1/4 teaspoon cloves, and 1/4 teaspoon nutmeg into the flour mixture;set aside. 
  • Cream sugar and shortening until fluffy; add eggs.
  •  Add flour mixture and milk alternately, in small amounts at a time, add vanilla.
  •  Fill greased cupcake pans 2/3 full. 
  • Bake at 400 degrees for 15 to 18 minutes.   

Makes 2 dozen.  I like to dust them with a combo of powdered sugar and cinnamon.
SO good!!


Friday, September 14, 2012

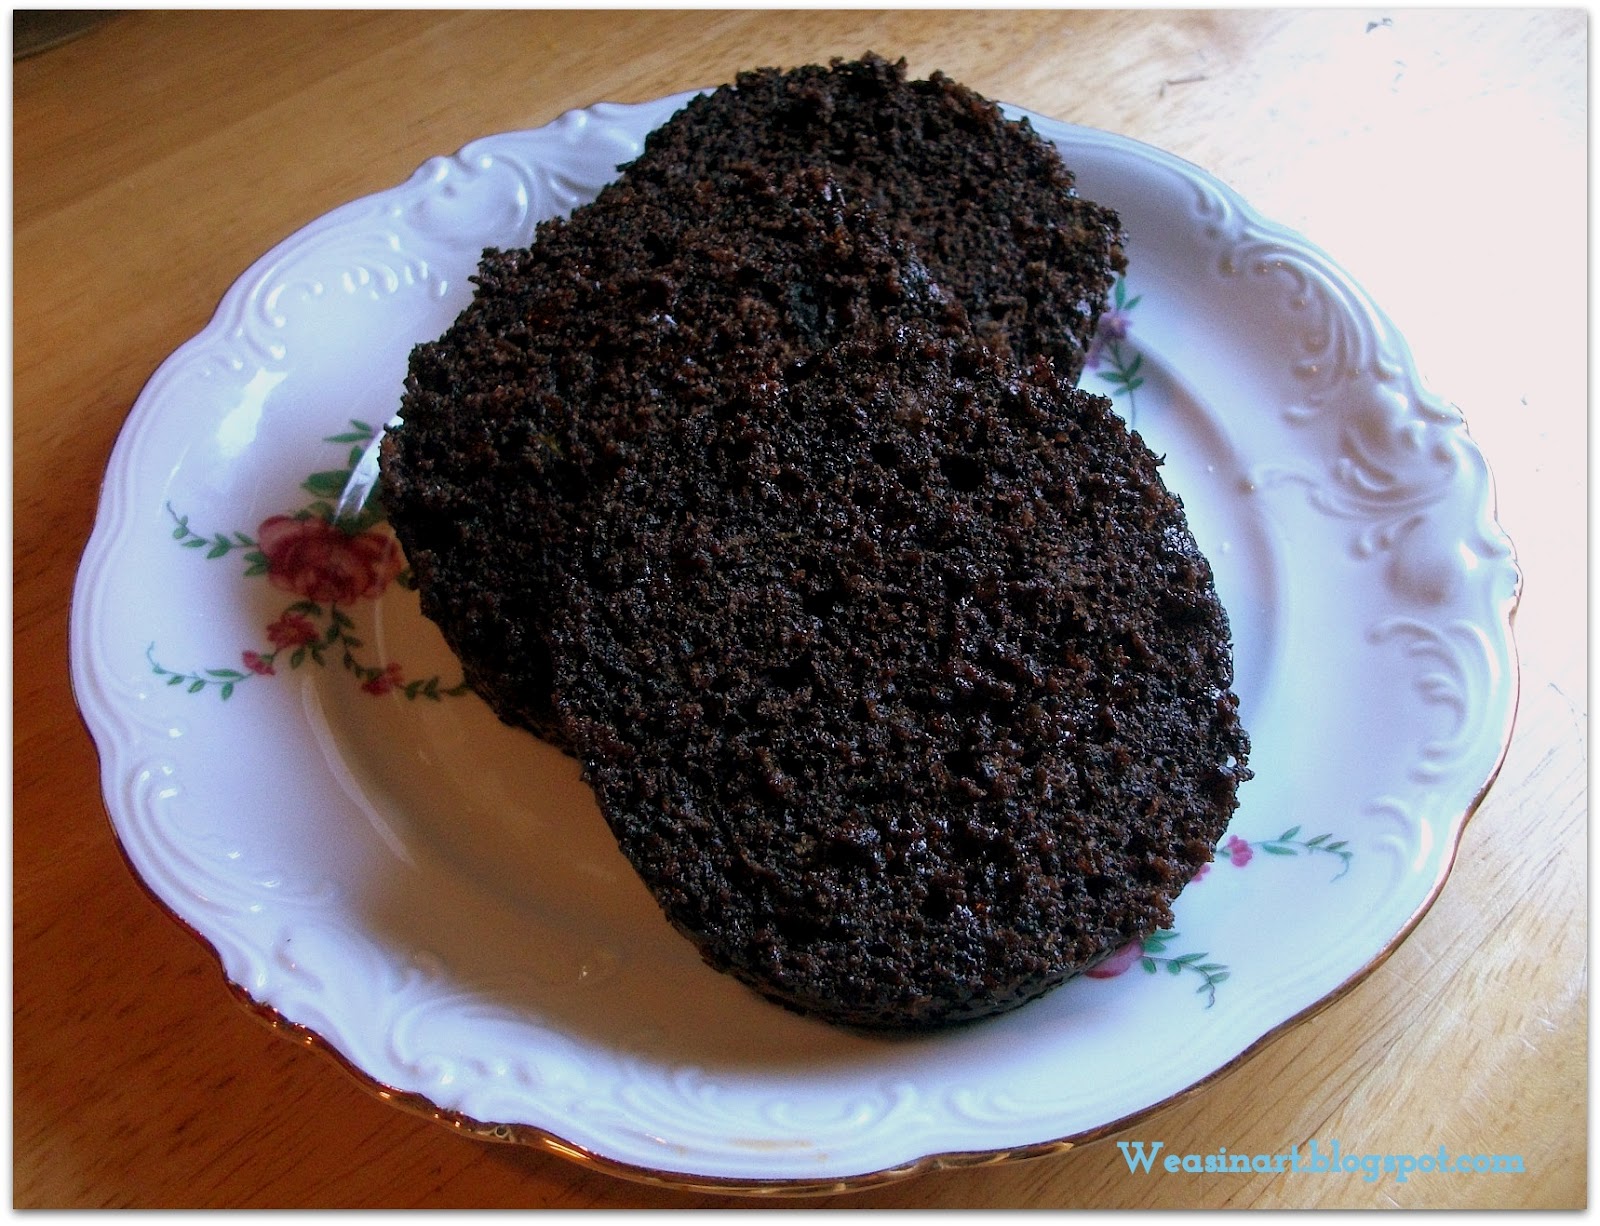
Foodie Friday: Paula's Chocolate Zucchini Bread in a Mason Jar


My friend Paula is one of the best cooks ever. She and her family eat gluten-free which is a double bonus for me since many nights she brings me dinner at play rehearsal. This bread is SO amazing it is like having the best chocolate cupcake ever but with a full serving of veggies!

Friday, September 7, 2012

Foodie Friday: Custard...fish fingers optional...


Anyone who knows their Doctor Who knows that custard was almost a main character in the Series 6 premiere. I thought that I would try to make it from scratch just to up the ante for the Series 7 premiere on Saturday. I added some homemade Ginger Syrup on a few berries for a real treat!

Friday, August 31, 2012

Foodie Friday: White Bean Basil Hummus


I am a sucker for a dip. Maybe it is because I am a dip myself.
I found this recipe on The Greatist and knew I had to make it.

Friday, August 24, 2012

Foodie Friday: Dutch Baby with Blueberry Sauce


No, I am not advocating munching on infants from the Netherlands, but rather brunching on a delicious puffy oven pancake. It is super easy to make and even easier to enjoy. It would be a great easy dish to serve when you have company over for breakfast or brunch...looks impressive, but SO simple.

Friday, August 17, 2012

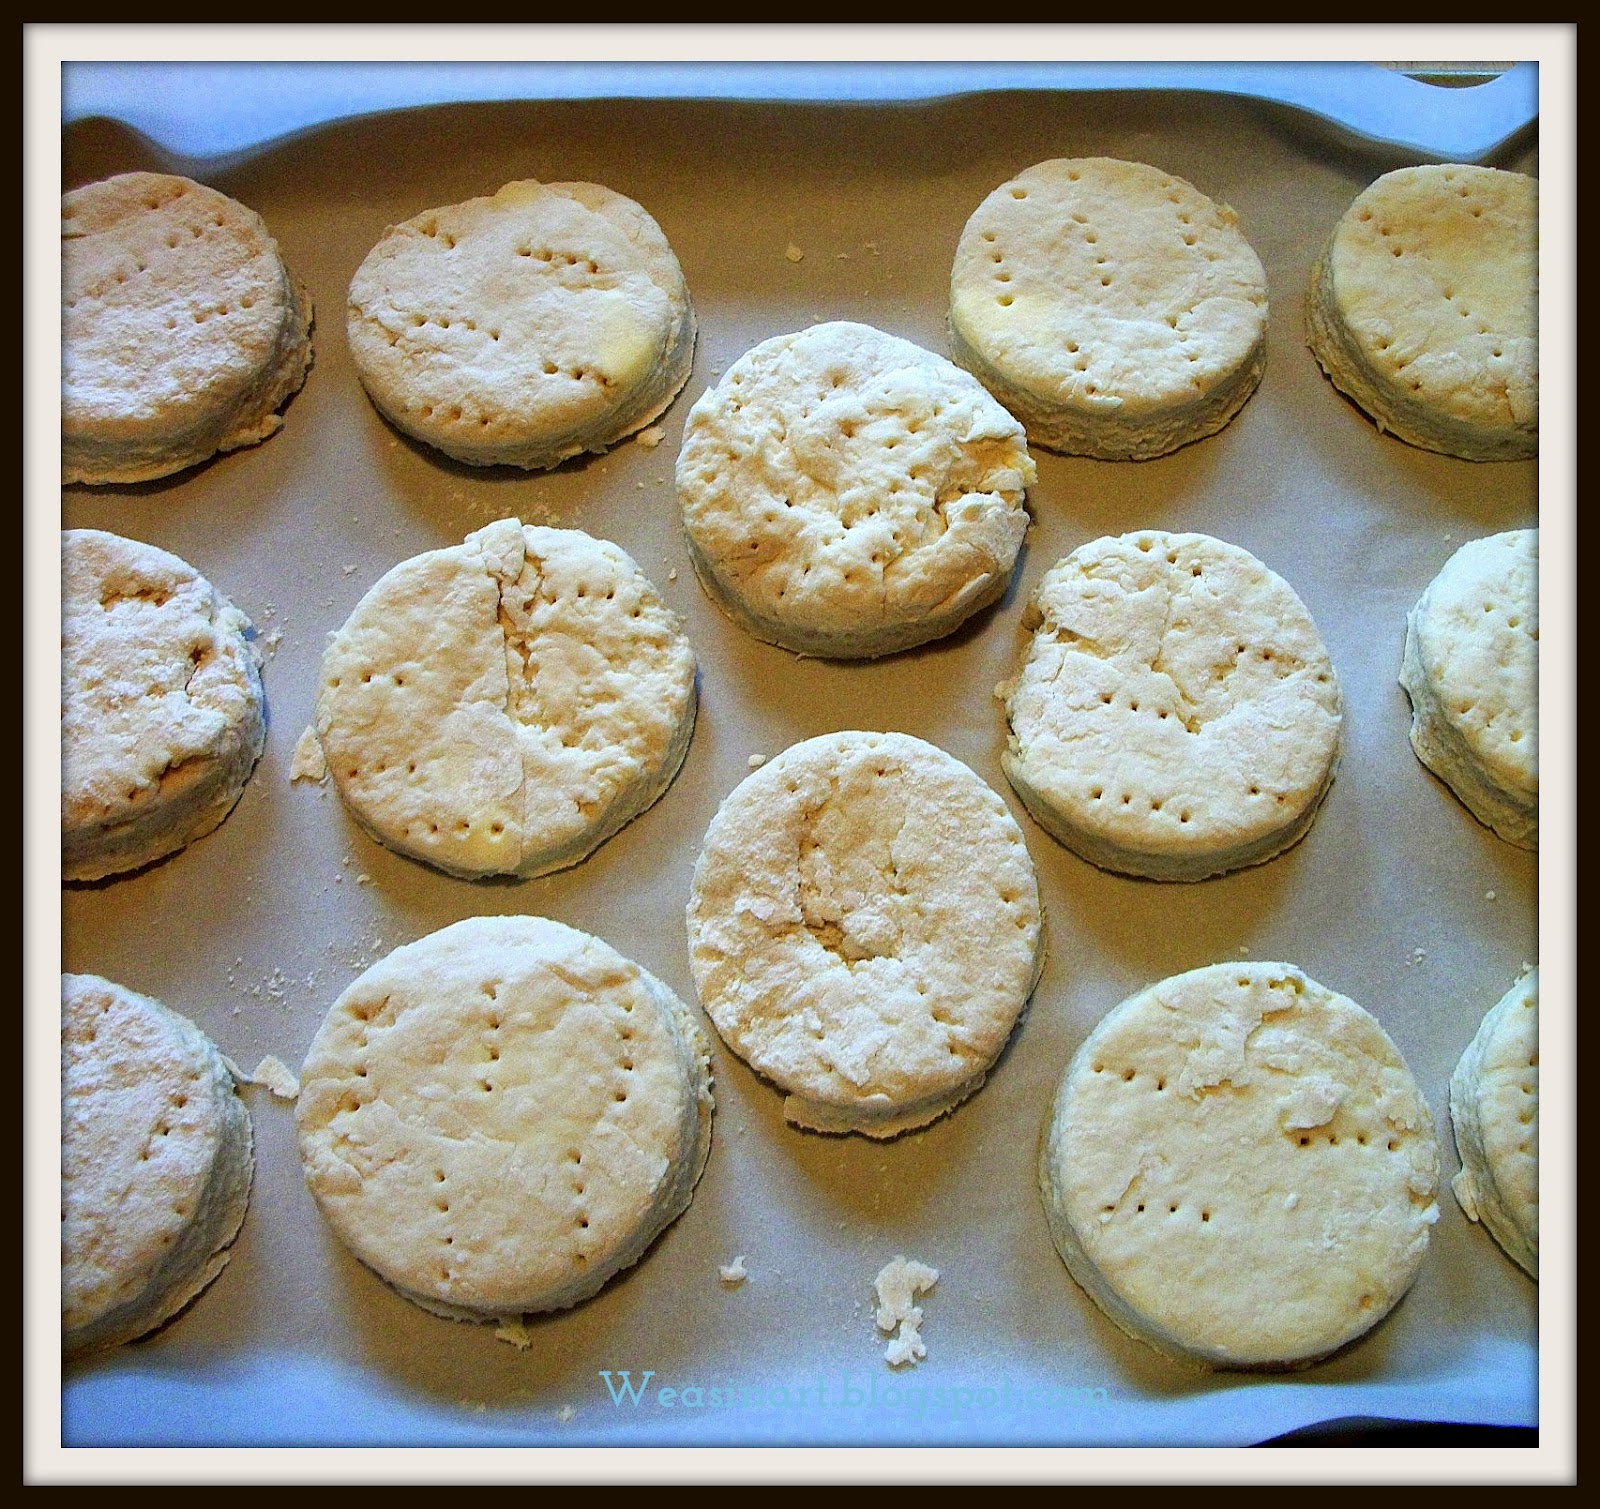
Foodie Friday: The Best Buttermilk Biscuits

In another life, I think that I was a country girl from the heart of the deep South. Such is my love for the biscuit. This recipe from the New York Times produces the best biscuits that I have EVER had.


Recipe from chef, Scott Peacock courtesy of The New York Times


INGREDIENTS:

1 tablespoon cream of tartar
1 1/2 teaspoons baking soda
5 cups sifted unbleached all-purpose flour, plus more as needed
1 tablespoon plus 1 teaspoon kosher salt
1/2 cup plus 2 tablespoons packed lard or unsalted butter, chilled and cut into pieces
2 cups chilled cultured buttermilk, plus more as needed
3 tablespoons unsalted butter, melted


METHOD:


  • Place a rack in the upper-middle position of the oven and preheat to 500°.
  • Make your own baking powder by sifting together the cream of tartar and baking soda.


  • In a large bowl, whisk together the salt, baking powder and salt.  Add the lard or butter and quickly work the pieces into the flour with a pastry cutter or the tips of your fingers.  The pieces should be coarsely blended and resemble large peas.
  • Make a well in the center of the bowl and pour in the buttermilk.  Quickly mix the ingredients until the mixture just comes together and forms a shaggy mass.  Add 1-2 more tablespoons of buttermilk if the mixture seems dry.


  • Immediately turn the dough out onto to a generously floured surface and quickly knead the dough about ten times until a ball forms.  Gently flatted the dough and use a lightly floured rolling pin to roll the dough out a thickness of 3/4 inch.


  • With a fork that has been dipped in flour, pierce the dough at half inch intervals before using a fluted, 2 1/2 or 3 inch biscuit cutter to stamp out the biscuits.  When you have run out of room to stamp out more biscuits, carefully reform the dough and press out as many as you can.


  • Arrange the biscuits  on a parchment lined baking sheet and bake until golden, about 10-12 minutes.


  • Remove from the oven a brush the tops with the melted butter.  Serve warm with butter, honey and/or jam.


Makes about 10-12 large biscuits


I served mine with homemade honey butter (comment if you need the recipe) and
a piping hot cup of tea. Heaven!

Friday, August 10, 2012

Foodie Friday: Maple Sugar Scones

There is something about baking. It is a magical mixture of chemistry and art--exact measurements married to finesse. It takes time, a commodity that so many of us are lacking these days. Vacation days and rainy weekends are the perfect time to indulge in both the pleasure of making something from scratch and the delicious results.

Last summer, my sweetie and I took a wonderful vacation in and around Burlington, VT. It rained have the time we were there, but that didn't stop us from having a wonderful time relaxing, lazing, exploring. 

Popping into my pantry this morning after my run to grab some mix-ins for my oatmeal I spied a bag of maple sugar from Dakin Farms that we got last summer. I knew it was time to use it.


One of my favorite cookbooks of all time is 
The Weekend Baker by Abby Dodge
The recipe for these scones is in this book.


Maple sugar is really the star of these scones, 
but brown sugar could be substituted.


Ingredients:
3 cups AP Flour
2/3 cup maple sugar
8 TBS. very cold unsalted butter, cut into 8 pieces
1 tsp. baking powder
1/2 tsp. baking soda
1/2 tsp. table salt
1/2 cup chopped pecans
2/3 cup buttermilk
2 TBS. pure maple syrup
1 large egg

for the topping:
2 TBS. pure maple syrup
2 tsp. maple sugar

Method:
1. Put oven rack on middle rung. Heat oven to 400 degrees.
Line baking sheet with parchment or Silpat.

2. In a large bowl, combine flour, maple sugar, baking powder,
baking soda, and salt. Whisk until well blended. Add butter pieces and using a 
pastry blender (or 2 knives), cut the butter into the flour mixture until the
butter pieces are no larger than peas. Add the nuts and mix briefly.
Mix together the buttermilk, syrup, and egg until just blended.
Drizzle liquid over flour mixture and toss with a rubber
spatula just until the dough comes together in moist clumps.


3. Dump the dough onto a floured work surface. Briefly knead the
dough to combine and shape into a 7-8 inch round.
Using a lightly floured knife, cut the dough into equal wedges.


4. Arrange wedges on a prepared cookie sheet (not touching).
Brush tops with maple syrup and sprinkle with maple sugar.

5. Bake until puffed and a toothpick comes out clean--about 18 minutes.
Transfer the sheet to a rack to cool for about 15 minutes.
Using a spatula, lift the scones from the sheet to a rack to cool.

Storage: Layer bakes and cooled scones between parchment or
waxed paper in an airtight container. They can be stored at room temperature
for up to 4 days or in the freezer for up to 3 months.


A delightful breakfast with a cup of tea!

Thursday, August 9, 2012

Reboot

I am ecstatic. I have started again.

I have had a ton of stress lately. I know that everyone does, but it seemed like so many things were just piling up at once. I let it get me out of myself and out of my routine.

Things, mentally, came to a head yesterday afternoon. I recognized that I needed some time to actually reboot...restart...MAKE THINGS! So, I took two days off to do whatever I want.

This morning, I could have slept as late as I wanted, but I was naturally up at 7am. So, five mile run it is...then I decided to bake something and the day became a whirlwind from there: scones, stuffed mushrooms, zucchini and tomato casserole, banana ice cream, two bracelets, two tote bags...I AM BACK.

I now have projects and photos for several blog posts--regular posts starting tomorrow :)

Here's what I got up to today:

For tomorrow's Foodie Friday post: Maple Sugar Pecan Scones!

Picked veggies in the garden for dinner.

Made two grocery/gym bags from old t-shirts for
the Stitchy Saturday post.

Made a super fun owl bracelet for Metalwork Monday.

Lastly, made an awesome vegetarian dinner of onion/olive stuffed mushrooms,
zucchini/tomato casserole, and quinoa pilaf. YUM!

Friday, May 25, 2012

Foodie Friday: Dalek Cupcakes

There is no better way to vanquish your mortal enemies than to recreate them in cupcake form and eat them.
The Doctor would do well to heed this advice.


These Daleks can't go up the stairs, just into my tummy.
Cupcakes seemed the ideal way to make a Dalek since they
are inherently Dalek-shaped.
The bodies consisted of one full-size cupcake, one trimmed-down
cupcake, and one mini-cupcake.
I "glued" them together with some frosting and frosted
them all the way around.
I used mint sticks for the eye stacks and weapons and
used M&Ms for the buttons for the "bumps." 
Masticate! Masticate!