Friday, August 17, 2012

Foodie Friday: The Best Buttermilk Biscuits

In another life, I think that I was a country girl from the heart of the deep South. Such is my love for the biscuit. This recipe from the New York Times produces the best biscuits that I have EVER had.


Recipe from chef, Scott Peacock courtesy of The New York Times


INGREDIENTS:

1 tablespoon cream of tartar
1 1/2 teaspoons baking soda
5 cups sifted unbleached all-purpose flour, plus more as needed
1 tablespoon plus 1 teaspoon kosher salt
1/2 cup plus 2 tablespoons packed lard or unsalted butter, chilled and cut into pieces
2 cups chilled cultured buttermilk, plus more as needed
3 tablespoons unsalted butter, melted


METHOD:


  • Place a rack in the upper-middle position of the oven and preheat to 500°.
  • Make your own baking powder by sifting together the cream of tartar and baking soda.


  • In a large bowl, whisk together the salt, baking powder and salt.  Add the lard or butter and quickly work the pieces into the flour with a pastry cutter or the tips of your fingers.  The pieces should be coarsely blended and resemble large peas.
  • Make a well in the center of the bowl and pour in the buttermilk.  Quickly mix the ingredients until the mixture just comes together and forms a shaggy mass.  Add 1-2 more tablespoons of buttermilk if the mixture seems dry.


  • Immediately turn the dough out onto to a generously floured surface and quickly knead the dough about ten times until a ball forms.  Gently flatted the dough and use a lightly floured rolling pin to roll the dough out a thickness of 3/4 inch.


  • With a fork that has been dipped in flour, pierce the dough at half inch intervals before using a fluted, 2 1/2 or 3 inch biscuit cutter to stamp out the biscuits.  When you have run out of room to stamp out more biscuits, carefully reform the dough and press out as many as you can.


  • Arrange the biscuits  on a parchment lined baking sheet and bake until golden, about 10-12 minutes.
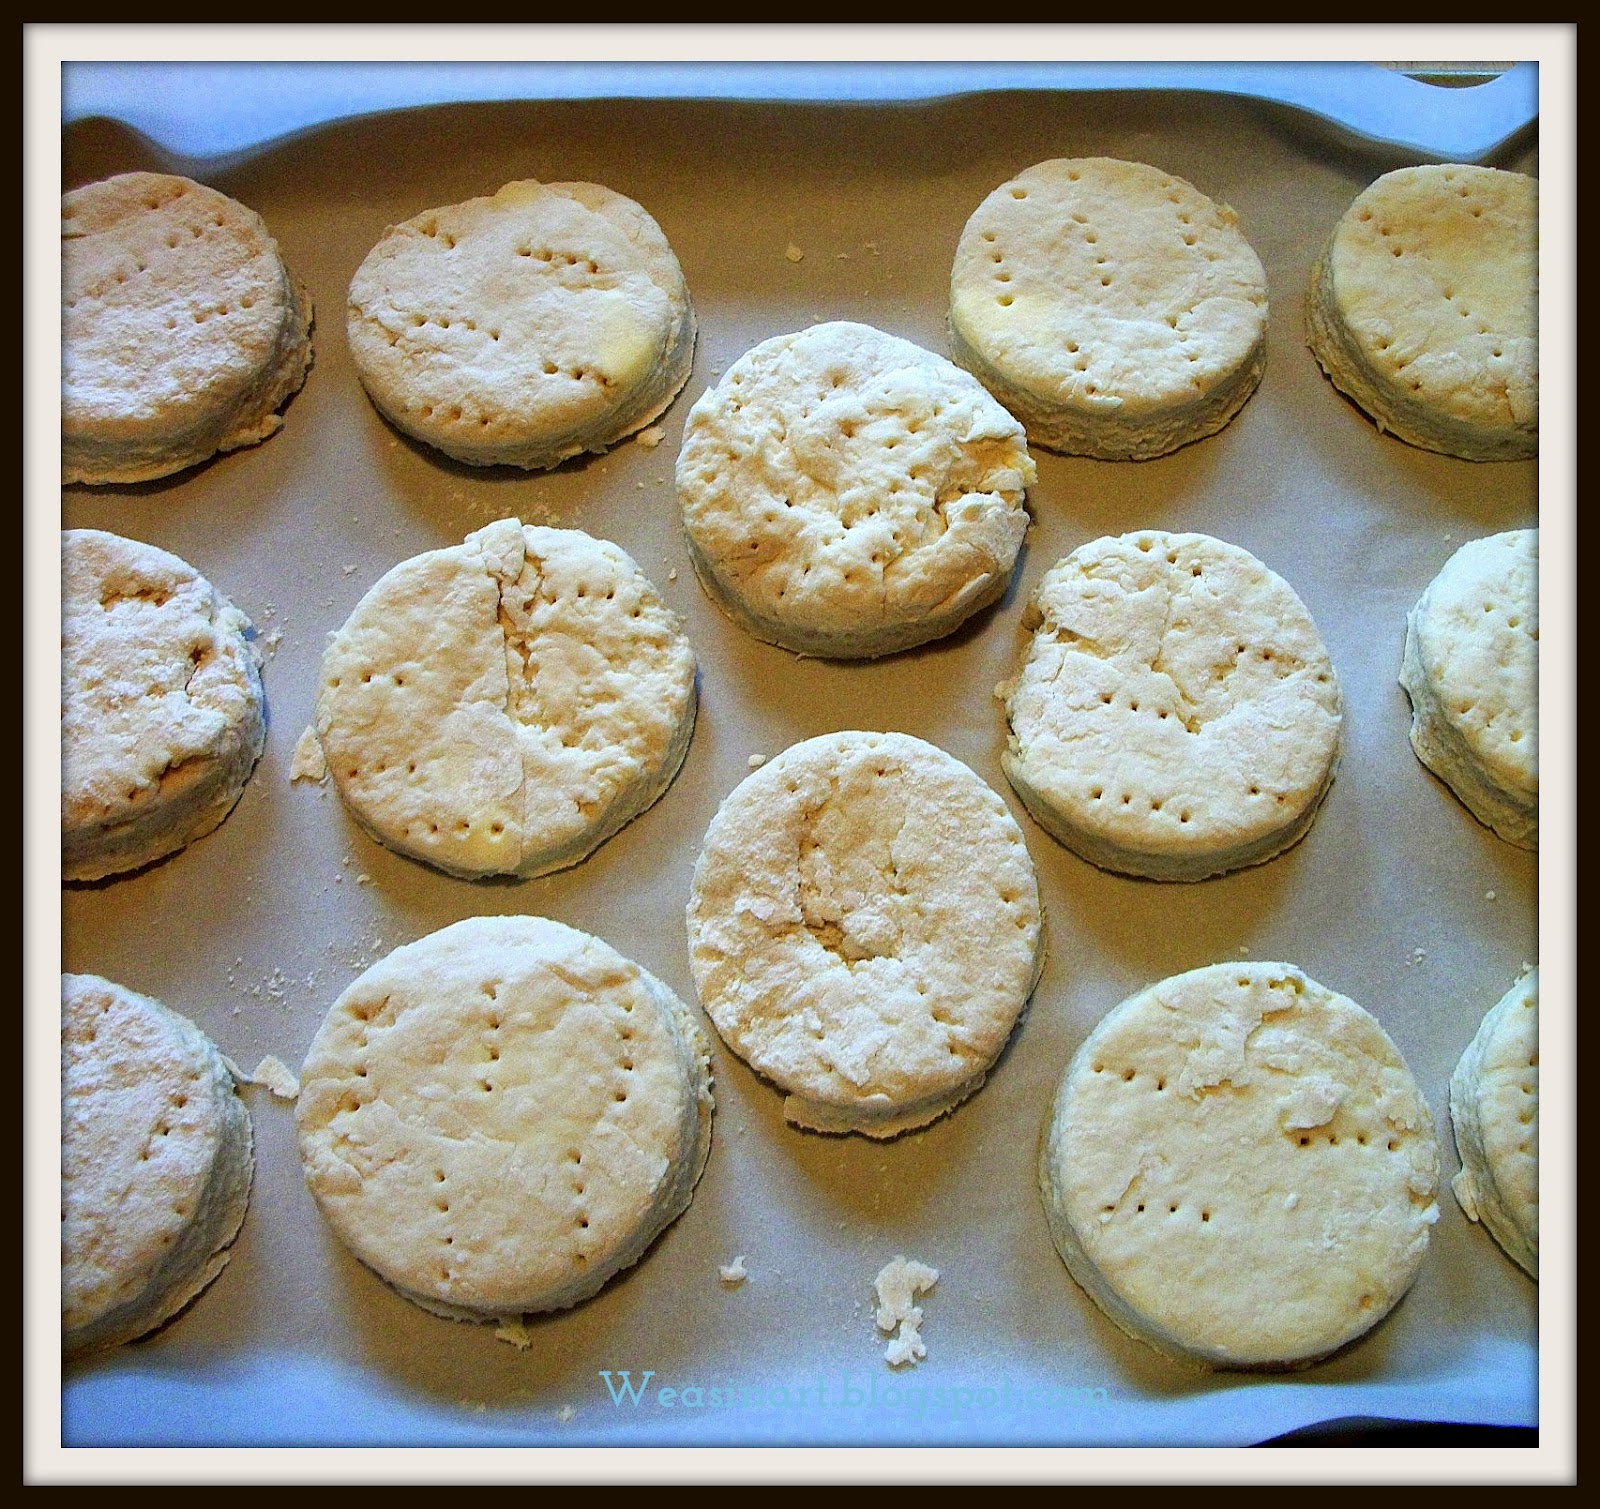


  • Remove from the oven a brush the tops with the melted butter.  Serve warm with butter, honey and/or jam.


Makes about 10-12 large biscuits


I served mine with homemade honey butter (comment if you need the recipe) and
a piping hot cup of tea. Heaven!

Thursday, August 16, 2012

Thankful Thursday: Bowl Covers

I really know what I am thankful for today. I am thankful that I am not responsible for making the clothes that I wear! I am not a super seamstress, to be sure. I used a zigzag stitch for the first time on this project. I was so overwhelmed with that that I forgot to take in-process photos. To top it all off, the project didn't turn out exactly as I'd hope. But, hey...it's a growth opportunity, right?


These fabric bowl covers from The Farm Chicks are 
essential for summer picnics. No bugs invited!


I chose a fun food-themed fat quarter for these covers.
I traced a circle larger than the bowl and used
pinking shears to finish the edges. I used a piece
of 1/4 inch elastic around the edge to make the cover.
Using a zigzag stitch, pull the elastic as you stitch
over it. I was not very good at it though. 


My stitching is a little wonky and the cover isn't as
tight as I would like, but it beats ants in the potato salad!


Wednesday, August 15, 2012

WIP Wednesday: Embroidered T-Shirt...and Weasinart

This weekend, I had a meltdown. I had a project that I was working on and it was going all wrong. I was frustrated...very frustrated. It made me second guess all that I was doing and frankly, why I was doing it at all. Why am I doing all these projects? Why am I writing this blog? Is anybody even reading it? You know, one of those "self-doubt, nothing that I do is worth anything, I should just quit" meltdowns. And I almost did.

I don't have the answers to all those questions yet. I know that I like to work with my hands and make things. I know that I like relating what I do to the rest of the world. Readers? Well, hopefully they will come with time...

Meanwhile, as I am sorting out the why of the blog, I really want to make it better. I am thinking and wondering. What will make the blog better for you? More photos? Better photos? Different layout? Different features? Please let me know. 

While I switch things up and make them better, I am working on several other projects in the Weasinart:


A free-embroidered t-shirt


Upcycled Canisters (or: "The Meltdown Project")


A fat quarter apron


A steering wheel cover and match seat belt cozy

Tuesday, August 14, 2012

How Tuesday: Upcycled T-Shirt Tote Bag

Everybody loves an event with swag. At least most of the time...too much swag just becomes clutter or things that we never use.

I could and would never wear half of the t-shirts that I get at races. What I would use is more reusable shopping bags. Problem solved: turn on into the other!


After choosing your shirts, lay them out on you work surface.


Cut off the sleeves, preserving the side seams.


Use a template to shape the opening around the neck.
Cut around template. I used a bowl.


Mark the bottom where you are going to sew the short shut.
I also decided the angle some side seams so the bag would be 
wider on the bottom. The angle sides serve as a psuedo-gusset.


Sew along your markings. I did two hems around each
side for added stability.


I filled one with running gear...


...and used the other for some groceries.

You can keep the memories with these great shirts,
but use them more frequently and usefully!

What does Weasinart need?

Happy lunchtime, my friends!

As I plunge back into the blogging world, I want to ask you your opinions...comment and suggest to your heart's content:


  • Do you like the current format of Weasinart? The layout? The features? Post design?
  • What kinds of projects/recipes/chatter would you like to see?
Please help me to make Weasinart even better!!

Stay tuned for this evening's post for How Tuesday: Upcycled T-Shirt Tote Bags!


Monday, August 13, 2012

Metal Work Monday: Owls..so maybe I am trendy...

You can probably tell that I am not super trendy. Well, I didn't think that I was until the owl craze starting sweeping the nation. Freakin' hipsters.

I made this super cute owl bracelet, perfect for the fall. 


I ran a bronze ID tag and a silver disc through the Sizzix 
Big Kick to emboss the tree and owl.


I used my jeweler's saw to cut out the owl.
I used my Dremel and several files to smooth the edges.


I used some purple nail polish to give him some zest.
I sanded a bit off to really accentuate the details.


I used two brass eyelets to cold connect the two pieces.
It seemed perfect to make them his eyes.


I combined gunmetal and bronze chain for further interest.


Love at first sight!

Sunday, August 12, 2012

Sunday Fun Day: Button Headband

Some days start in the middle of the night. Today was one of those days. Mid-August marks the peak of the Perseid Meteor Showers. When you have a sweetie that was an astronomy major in college, this is a big deal.

 Hence, a Sunday that started very early, had a flurry of activity early, and was never destined for huge projects (MAJOR disaster this afternoon trying to do a project that was just too much...more on that later). The button headband project was made for sleepy days like today--easy to make, necessary when doing your hair is just not a priority and ideal to wear when life hands you a day to beautiful to stay in the studio. I wore mine on a gardeny photo shot (more to come on that front too) and while augmenting our bounty at the farmer's market and it got a lot of smiles.


Big buttons, teeny buttons, nothing matchy...perfect for the weekend.


I started with some of my very favorite mismatched buttons,
a headband with an elastic back (you could also make your
own headband or sewing them onto elastic), an embroidery needle 
and some white floss.


I forgot to take a photo of the inside, but I simply placed 
and fit each button, sometimes overlapping them, and secured them 
through the button holes with the embroidery floss. I did 
not cut and tie after button, but rather went right from one to the next.


I love it--easy, fun, and it goes with everything!

Stay tuned to hear about my misadventures in spray paint
and to check out my current photo project :)

Thanks for reading and have a great week!