 |
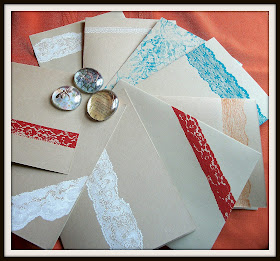
| The finished product! |
 |
| The supplies include: -blank cards or card stock -lace -brayer (it would be even better to have two) -glass surface (I used an old collage frame) -block or screen printing ink |
 |
| Using the brayer, spread a layer of ink onto the glass. lay the lace on top and run the brayer over it until the lace is saturated. |
 |
| Place the lace on the card. Cover the lace with a piece of paper and roll a clean brayer over it. I only had one, so I used a can from my pantry, |


Another cute idea! Like it!
ReplyDelete